 My DD2 sent me this pic of the 24 tiny hats I knitted for her, as an Advent Calendar, and it's so lovely to see them all together. She hung them on a branch and filled them with tiny treats, but I know who'll be eating the treats this year...... as the babe is too young to know or tell!!!
Thursday, 3 December 2009
Pixie Hats in Germany
My DD2 sent me this pic of the 24 tiny hats I knitted for her, as an Advent Calendar, and it's so lovely to see them all together. She hung them on a branch and filled them with tiny treats, but I know who'll be eating the treats this year...... as the babe is too young to know or tell!!!


Quick & Easy Star Decoration
 This is quite a simple and fun decoration to make and I am including directions so there is no excuse for not trying it out!
 They can be folded reasonably flat (if 2 of the folded surfaces are not stuck together) for posting to friends.
Double sided scrapbook paper works well and saves time if you don't want to decorate your own card/paper.
This fold can be made in varying sizes to make other items.
eg., 3 or 4 pieces of 8 inch square would make the inner pages for a memory book.
2 or 3 pieces of 5 1/2 inch square makes an interesting card insert.
 It is best to use lightweight card or heavy paper.
 It is best to use lightweight card or heavy paper.
I spritzed one side with Glimmer Mists, then laid crumpled cling film on top for a few minutes to create swirls.
When dry, I then stamped snowflakes from the Winter plate, which I designed for www.stampattack.co.uk
The reverse side was rubbed with Distress Inks and stamped with a script design.
On the other cards I spritzed glimmer Mists over sequin waste and stencils before stamping over at random.

Cut squares of 3 or 2 1/2 inches and fold as indicated above.
When folded cut off the portion indicated, cutting through all layers and thus giving the shape in the bottom right hand of the above picture.
Stick together 5 or 6 pieces to form a star shape
Decorate with dots of Stickles and/or add punched out shapes
Finish off using a Krylon pen rubbing the edges, as shown below, whilst all the pieces are held closed.

Tuesday, 24 November 2009
Crazy quicky!
 I needed a card in a hurry for a wacky friend so I got round to using one of the wacky UMs I bought, at the Stempelmekka in September, from Linda of www.lost-coast-designs.com/
 It needed a crazy background to go with the image so I used a piece from the stash I made when I recently demoed alcohol inks blasted with an air duster. I must use some of them up and this was an ideal chance. I never get fed up playing with these backgrounds but must start to experiment a little with other techniques before I get completely boring.
I stamped an extra image on a scrap of white card, cut out the face and stuck it over the inky face to make it pop. Thanks to my dear friend Leo for this idea and I often use this technique on the faces of geishas... it is very effective.
48 tiny hats finished
 I cannot believe that I have finished all 48 tiny hats... 2 sets of 24!!! Back now to a bit of serious crafting and knitting Winter clothes to keep the Grandees warm.
I was spurred on to get this 2nd set ready as DD1 and Grandee 1 arrive today from the south coast and I wanted to surprise them. Can't wait to see them but they are in the rail system at the moment, delayed a few hours, which must be horrendous. At least I'm grateful they will be warm and dry, unlike all the hundreds of poor souls in Cumbria who are flooded out of their homes. Always someone worse off.
There's a lovely pan of Scouse, (our local dish) on the hob, slowly simmering away, and it will bring the smell of home to them when they finally arrive.
Wednesday, 18 November 2009
Exploding card info
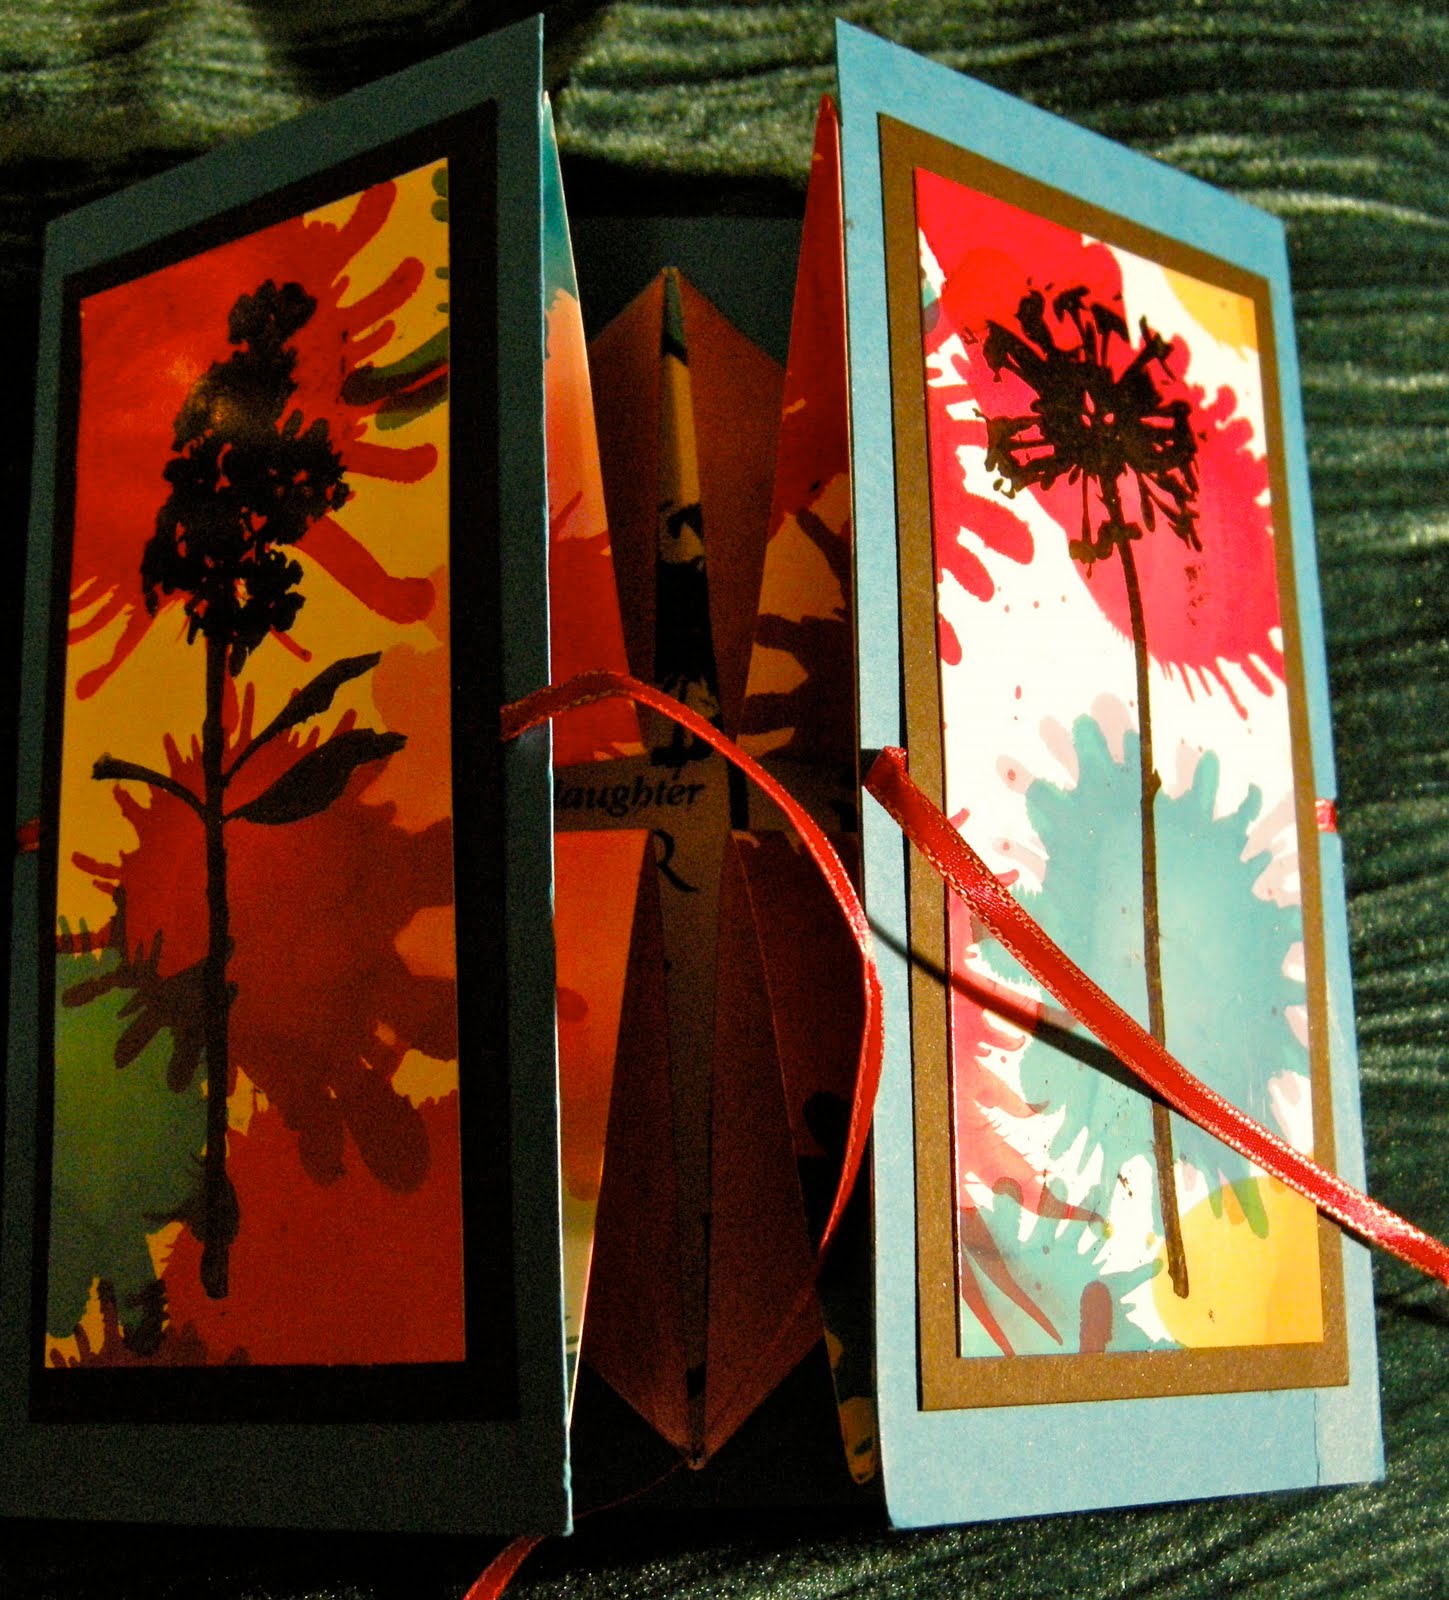
 I have been asked how to make the exploding card I put on my blog yesterday, so I am adding the above picture to show how to fold the inner section. It is quite easy and can be made any size as long as your card length is 2 x the width.
Be sure not to fold the card in half as you don't want a centre crease.
From an A4 card I cut either 4 x 8 inches or 6 x 12 inches.
Make the outer cover a tiny bit bigger all sides, just a couple of millimetres.
Hope this helps but please ask if you have any queries.
Final three hats
 I'm doing the happy dance! That's 24 made and I look forward to seeing the complete line up when they all arrive in Germany.
 Two made already towards the next 24, for DD down South, but I won't show them here until I've finished.
Tuesday, 17 November 2009


Yet more tiny hats!
 I love the green one with the frilly brim and the feather.
 Woo hoo! another 8, making 21 complete, so nearly there to the 1st set of 24. They are already winging their way, all bells jingling, to Germany the Pixie Despatch Service.
 3 more and I can start my second set, which will go to the South Coast of England.
 Another one of my decoration ideas, made from card decorated with Distress Inks, a spritz of Cosmic Shimmers and stamped over with snowflakes from the Winter set of stamps I designed for www.stampattack.co.uk.
The 1st strip of 6 triangles below, shown before assembling, has been stamped with a triangular image and coloured in with Promarkers.

Decorations

 I had a great day on Sunday, demonstrating and making backgrounds with Alcohol Inks, Distress Inks and Cosmic Shimmers, for Stampers Gallery in Tarleton. Always a good day there with Sue and Graham and all the customers are so friendly. A lovely atmosphere and it was busy, busy, busy all day.
 I made a few things to show how to use the backgrounds produced and I was asked by so many people for instructions, so these pictures may help.
The above string of little trees are cut from card spritzed with Cosmic shimmers over sequin waste. They have a little pocket inside to hold sweets or a gift. The pocket is made by wrapping the purple paper round a matchbox then folding in and gluing one end. The tree shapes are decorated and stuck to the back and front.
Monday, 16 November 2009
And more mini hats!
 13 done and ONLY 35 to go!!
I'm going great guns making these tiny hats. Didn't think I'd get them made so swiftly but they are so tiny and the variety helps.
I promise myself that I'll down needles and upload some stamping artwork tomorrow, as promised to some of the people who saw my demos on Sunday.
Saturday, 14 November 2009
9 tiny hats made!
 9 down, 39 to go!!!
 I'm starting to get a bit more inventive with these teeny weeny hats so I don't get too bored making them. Some are tiny versions of those I've already made for my grandees. I love the fluffy angora one and that yarn must be so ancient as I found it in the pits of my wool stash. It just isn't used for babies these days in case they inhale the hairs. The middle one is for a hippy pixie as it has 3 Indian bells on the tail.
Friday, 13 November 2009

Thursday, 12 November 2009
Alcohol ink flower technique
 I saw a great video on http://inkstainswithroni.blogspot.com/ for these alcohol ink flowers. Thanks to Roni who has got this boxed off beautifully!!.
 However I had great fun today trying out the technique and I suppose I'll get better at it eventually. Below shows my effort at the original technique before and after roughly sketching over with a permanent black pen. The scribble makes such a difference.
The above pic shows how it looks stamped over but I think it would work better with flower images that aren't quite so solid looking. For all the stamps I have, I couldn't find the perfect image. Isn't that always the way and why we are forever buying more. I remember the time when all my stamping stuff fitted into a shoebox... that didn't last long!!


Tiny Hats
 My daughter in Germany saw an Advent Calendar in a magazine made up of tiny knitted hats and has asked me to make a set. As a result I have very swiftly founded the "Pixie Hat Company". It may be used as a permanent decoration in her baby's room so I'm not making it in Christmas colours. I will need the Pixies to help me make them in time for Dec 1st but I not only have to make 24 .... it will be doubled to 48 as my other daughter also wants a mini washing line full of them. The needles are sparking!!! Eeeek! If I can't manage them all, I'll aim for 12 each for this year and finish the rest at leisure.
Three down, 45 to go... watch this space.....
Tuesday, 10 November 2009
Triangular card

Inside above
It started with an embellishment! I was challenged to use these bellys in my samples for a demo day I'm doing next weekend.
I coloured glossy card, once again using alcohol inks blasted with canned air..... I love playing with it and it's any excuse at the moment.
I seem always to use shades of turquoise and cerise no matter how I try to splash out and step out of my comfort zone.
I stamped swirls in black and like the effect as it mutes the overt splats of colour.
The main image is Oasis by Creative Stamping date 2004 so may be obsolete.
The image painted with H2O twinklers but the sheen of the mica doesn't show well.
Folded below

Sunday, 8 November 2009
Grunge jewellery & jewellery using perfume sample phials

I made the above pieces in September for Stempelmekka as we decided to use this idea of Caz's as one of our demos. The grunge is first painted with dabbers, acrylic paint or gesso then roughly over painted with a contrasting colour. (Some of the grunge board was embossed). They were then stamped with Stazon and sprayed with Cosmic Shimmer or rubbed with Perfect Pearls.
Today I made the items below from old perfume sample mini glass tubes, an idea I've wanted to play with for ages. They are filled with many different tiny treasures and were great fun to make. They could be used as pendants, keyrings, phone or handbag charms.
1st one (with the coin) contains a rolled up stamped image of a face and glitter.
2nd and 3rd ones contain layers of different coloured accent beads and glitter.
4th has tiny computer board bits and clear accent beads inside.
5th contains gold leaf and alcohol ink.
For the tops I used the Meltpot, adding a bead and wire loop, sealed in with UTEE.
I should have emptied the phials earlier and left them to air as now there is a pervading pong of a mix of perfumes I just do not like.

Skinny Book Alphabet Swap
I was given the letter "I" for a group alphabet swap and this is my page for the skinny book it will create. It was daunting to make 38 pages all almost the same... yes! I know there aren't 38 letters in the alphabet but this is a special swap in memory of Suze so more members wanted to participate so some are making a page for the seasons and the covers and a dedication page. As I made the pages I thanked my blessings for my own good health and thought of Suze with love.


Saturday, 7 November 2009
Stamp Club tag swap
Spent a great crafting day today with friends at our Stamp Club. After the AGM and necessary but boring stuff we created tags for a swap. The idea is to make a tag book when they are all complete. We were also treated to demos of some great background ideas from the talented duo, Cath and Lynne. Thanks Gals!

Above ... some of the fab tags I received today. I look forward to making all 22 into a book.
Below my own tag. I sprayed Cosmic shimmers over sequin waste and stamped the bird images which are from the new plate I designed for Stampattack. The pic doesn't show the gorgeous shimmer of the sprays.

Friday, 6 November 2009
First Ever Post
Sitting here wondering what on earth I'm doing but guided by my good friend Caz I am sure I'll get over all the hurdles of setting up this blog. Good to have a new venture!
My intention is to share ideas, artwork and some of the interesting bits and bobs which pop up into my life.
Don't want to bore anyone but I'm sure you all know how to make that click to get rid of me. On the other hand ....... who knows what magic we'll share. I've been a blog stalker for ages and I have been so inspired by so many talented people. I just hope someone somewhere out there may find a little inspiration in things I share.
Here goes folks, we're live.. .enjoy!

A special wooden letter I altered for the 2nd birthday of a very special little girl.
It has grungeboard wings and is painted with crackle paint.


I'm playing with this idea of a card tag attached to a small calico sack which is then altered. The sack is useful to hold treasures or a gift and the tag will hold a message. The theme of this one is influenced by my memories of having a little bag for dinner money in school..... a long long time ago!!!
The key is poignant as so many children at that time were "latch key kids". Letting themselves into empty houses at a young age after school.

My idea for a window box card... the card is coloured using alcohol inks blasted with canned air on glossy card. The "Freckles" images I designed along with the "Tatty Heads"... I'll no doubt use Tatty Heads very soon. ...


This is a double concertina card I made recently for a special friend. The insert is Stazon stamped on acetate.
Subscribe to:
Posts (Atom)